Event landing
An inviting event website with speakers, a full-day agenda and a ready-to-connect registration form.
Screen preview
The image below shows the TypeScript screen. Open the web preview to try its controls; it runs the same source included in the starter.
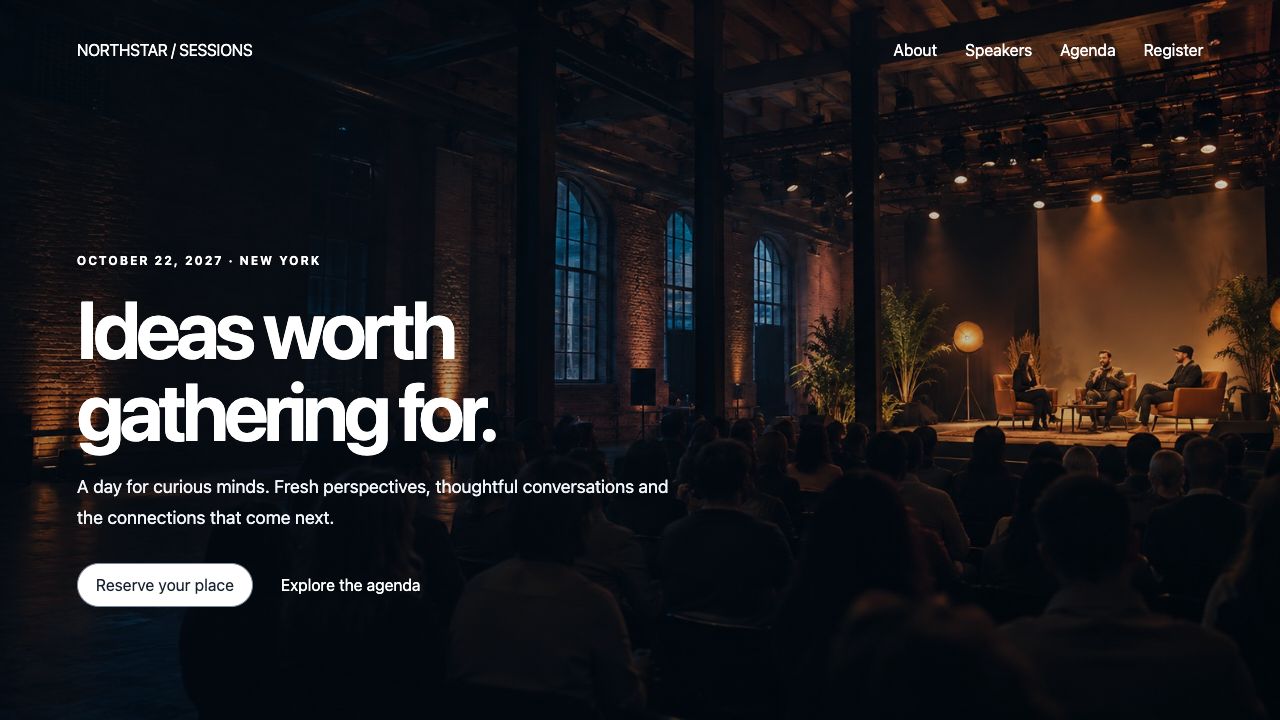
Web components used
HeroSection · SplitSection · MediaImage · CollectionLayout · ProfileCard · Descriptions · Timeline · FormRenderer
HeroSection, SplitSection and CollectionLayout supply the full-width composition. Each component is also available independently from @blukavantui/web.
Connect your API
Connect the screen to your own data and save actions. Handle permissions and validation on your server.
Supply env.onRegister to send a validated submission to your registration service. The preview validates the form without sending a registration or email.
Use this TypeScript screen
- Download the complete starter and run
npm ci, thennpm run dev. Choose Event landing under Screen templates. - To move it into an existing web app, copy
src/templates/event.ts. Install@blukavantui/weband import@blukavantui/web/theme.css. - Call
mount(host, env)with a connected HTML element. Setenv.assetBaseto your image folder andenv.galleryUrlto the gallery link. Calldestroy()when removing the screen.
This screen uses the existing BluKavantUI component styles and shared marketing layout. No additional stylesheet is needed. The preview uses example photos. Replace them with your own images using env.assetBase.
OutSystems version — separate setup
In Service Studio, copy TemplateEvent and the shared MarketingTemplateLayout from BluGrid_Sample. Retain the referenced BluKavantUI libraries selected by that screen. Foundations belong to Core; layout, input, data, feedback and media Blocks live in their corresponding libraries. Replace sample reads and saves with your application’s server actions.
These instructions apply only to the OutSystems screen.
Open OutSystems screen ↗